The Azure VM Multi-NIC feature is available for a while (Q3 2014). I personally haven’t got till now the need to host virtual machines with multiple NICs in Azure.
In the last days I decided to build a part of my test environment in Azure. Since my on-premises setup rely on 10 subnets and multiple NICs, I decided to leverage the Multi-NIC feature also in cloud, but I encounter issues with the VM provisioning. I think this is temporary until Microsoft is fixing it. However, I lost couple of good hours with it till I found the workaround, so it deserve a post.
How to:
1. In Azure I defined my own Virtual Network with 3 (three) subnets.
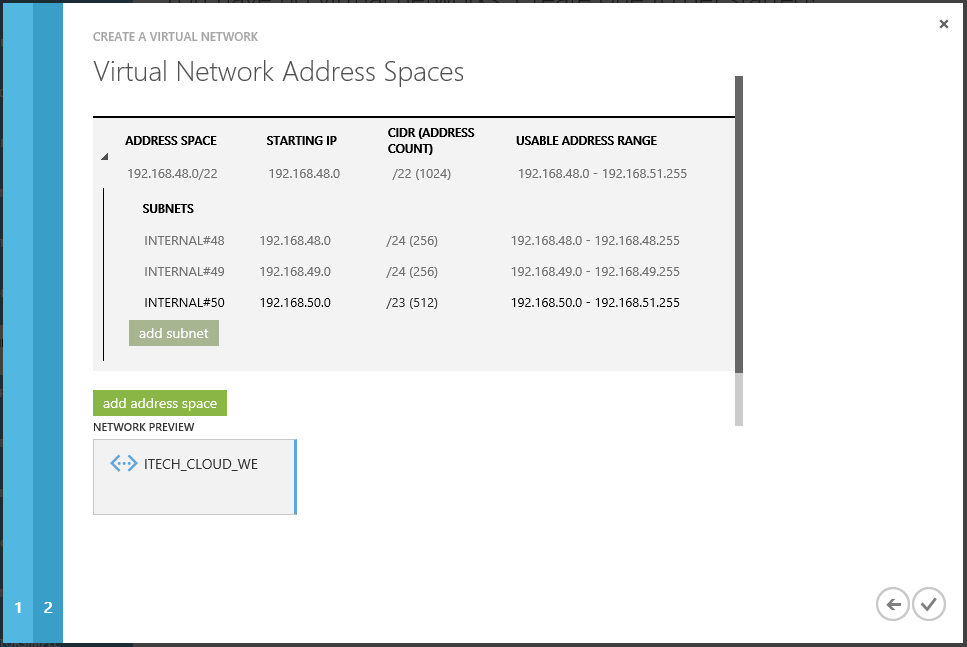
INTERNAL#48 – intended to be used for heartbeat
INTERNAL#49 – intended to be used for dedicated MS SQL traffic
INTERNAL#50 – all other network traffic
2. I also created a storage account where to host my Azure VM disks.
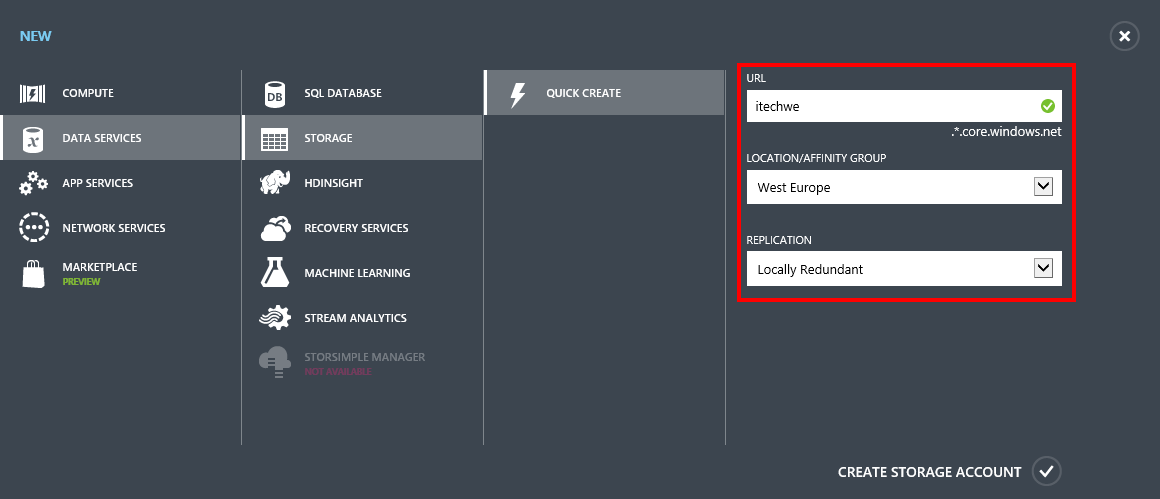
3. Create a multi-NIC VM (possible only through PowerShell)
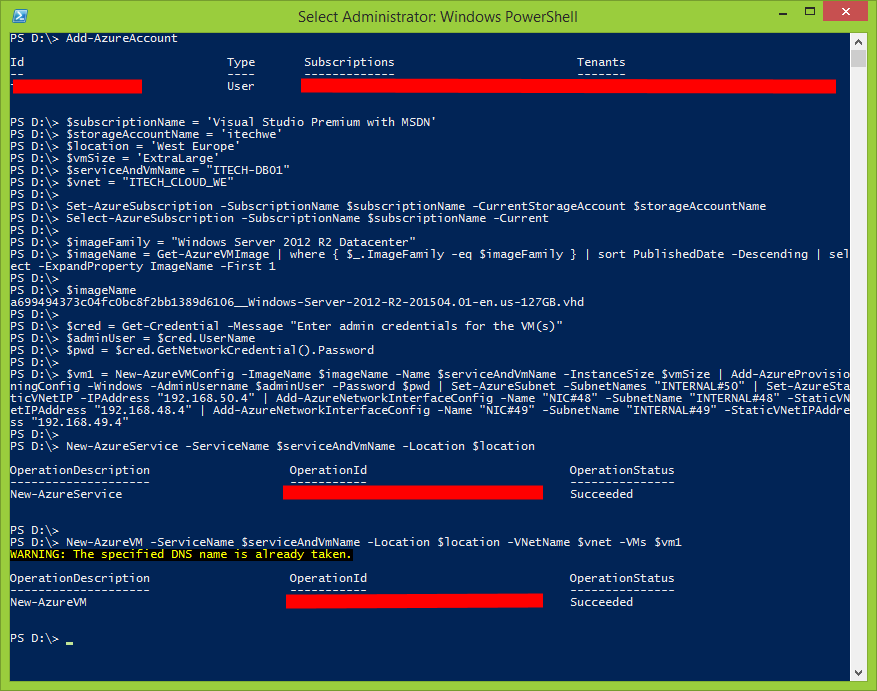
Add-AzureAccount

$subscriptionName = 'Visual Studio Premium with MSDN'
$storageAccountName = 'itechwe'
$location = 'West Europe'
$vmSize = 'ExtraLarge'
$serviceAndVmName = "ITECH-DB01"
$vnet = "ITECH_CLOUD_WE"

Set-AzureSubscription -SubscriptionName $subscriptionName -CurrentStorageAccount $storageAccountName
Select-AzureSubscription -SubscriptionName $subscriptionName -Current

$imageFamily = "Windows Server 2012 R2 Datacenter"
$imageName = Get-AzureVMImage | where { $_.ImageFamily -eq $imageFamily } | sort PublishedDate -Descending | select -ExpandProperty ImageName -First 1

$imageName

$cred = Get-Credential -Message "Enter admin credentials for the VM(s)"
$adminUser = $cred.UserName
$pwd = $cred.GetNetworkCredential().Password

$vm1 = New-AzureVMConfig -ImageName $imageName -Name $serviceAndVmName -InstanceSize $vmSize | Add-AzureProvisioningConfig -Windows -AdminUsername $adminUser -Password $pwd | Set-AzureSubnet -SubnetNames "INTERNAL#50" | Set-AzureStaticVNetIP -IPAddress "192.168.50.4" | Add-AzureNetworkInterfaceConfig -Name "NIC#48" -SubnetName "INTERNAL#48" -StaticVNetIPAddress "192.168.48.4" | Add-AzureNetworkInterfaceConfig -Name "NIC#49" -SubnetName "INTERNAL#49" -StaticVNetIPAddress "192.168.49.4"

New-AzureService -ServiceName $serviceAndVmName -Location $location

New-AzureVM -ServiceName $serviceAndVmName -Location $location -VNetName $vnet -VMs $vm1
The problem:
The VM is started, gets into the Running (Provisioning) status and remains in this state for almost 1 hour.

After the long provisioning attempt the VM status is changed to Running (Provisioning timed out). Connection via RDP is not working, restarting the VM will not help – pretty much nothing to be done anymore.

Solution (workaround):
I think the new 2015 virtual machine images have some issues during provisioning if the VM is configured with multiple NICs. The workaround I found out is to first successfully provision the VM with only one NIC and later use that OS disk and attach it to a new multi-NIC VM.
Because I want to use the same VM and service names, before running the next steps I deleted the previous created VM (including the disk and cloud service).
1. First let’s create the VM using one NIC.
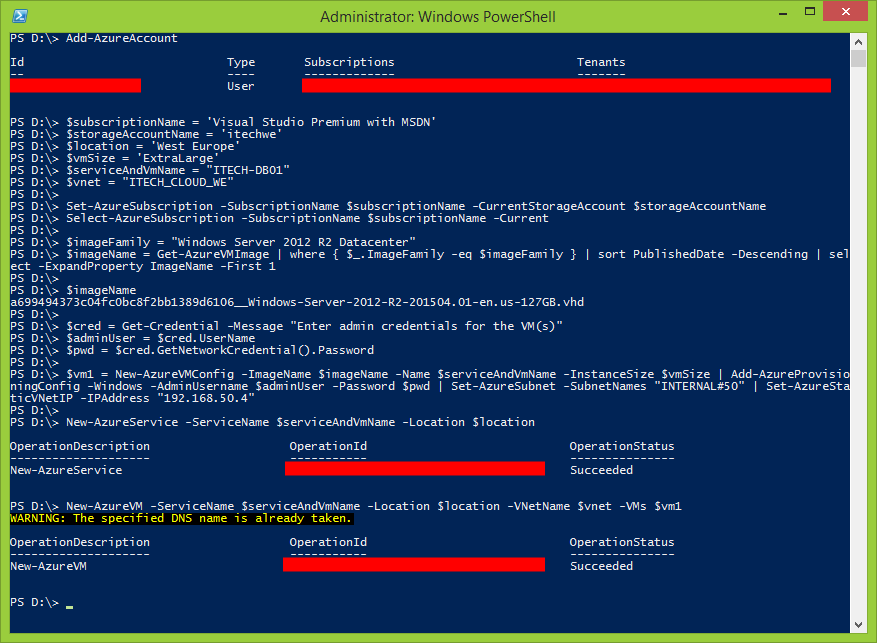
Add-AzureAccount

$subscriptionName = 'Visual Studio Premium with MSDN'
$storageAccountName = 'itechwe'
$location = 'West Europe'
$vmSize = 'ExtraLarge'
$serviceAndVmName = "ITECH-DB01"
$vnet = "ITECH_CLOUD_WE"

Set-AzureSubscription -SubscriptionName $subscriptionName -CurrentStorageAccount $storageAccountName
Select-AzureSubscription -SubscriptionName $subscriptionName -Current

$imageFamily = "Windows Server 2012 R2 Datacenter"
$imageName = Get-AzureVMImage | where { $_.ImageFamily -eq $imageFamily } | sort PublishedDate -Descending | select -ExpandProperty ImageName -First 1

$imageName

$cred = Get-Credential -Message "Enter admin credentials for the VM(s)"
$adminUser = $cred.UserName
$pwd = $cred.GetNetworkCredential().Password

$vm1 = New-AzureVMConfig -ImageName $imageName -Name $serviceAndVmName -InstanceSize $vmSize | Add-AzureProvisioningConfig -Windows -AdminUsername $adminUser -Password $pwd | Set-AzureSubnet -SubnetNames "INTERNAL#50" | Set-AzureStaticVNetIP -IPAddress "192.168.50.4"

New-AzureService -ServiceName $serviceAndVmName -Location $location

New-AzureVM -ServiceName $serviceAndVmName -Location $location -VNetName $vnet -VMs $vm1
This time the machine will be properly provisioned. The easiest way to verify this is to remotely connect to it using RDP.

But this is not the VM with 3 (three) NICs. In the next step I will delete this VM without deleting the disks. Basically I used this machine to make sure the provisioning is successfully completing. Once I delete the VM, I will recreate the 3 (three) NICs VM via PowerShell by attaching the existing OS disk.
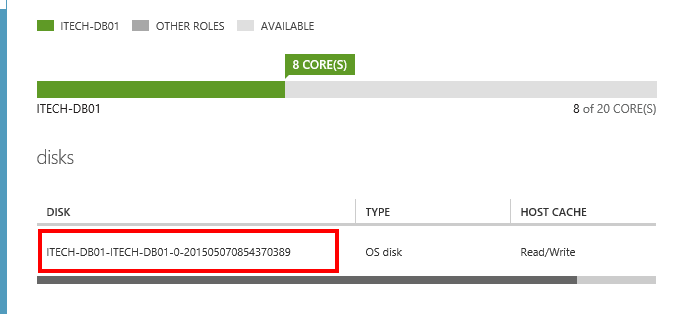
2. Identify the OS disk name used by the provisioned VM.
3. Delete the existing VM with preserving the OS disk image.
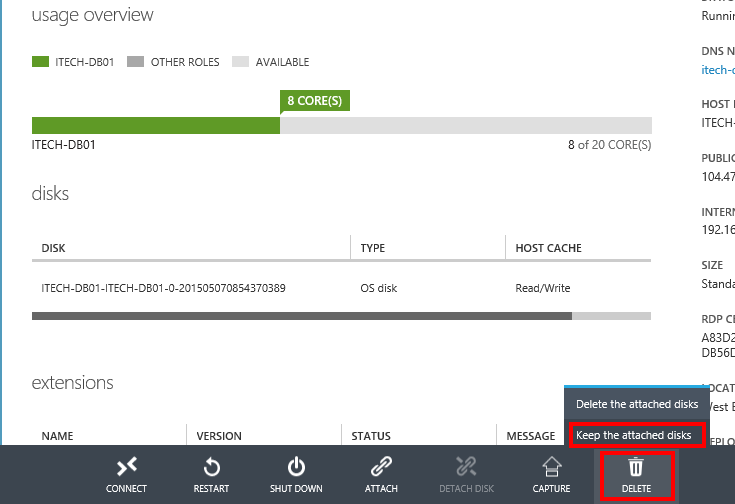
In the virtual machines disks section make sure the disk is not attached to the VM anymore (in Azure the detach disk operation is a bit delayed from the VM deletion).

4. Recreate the 3 (three) NICs virtual machine by attaching the exiting OS disk.
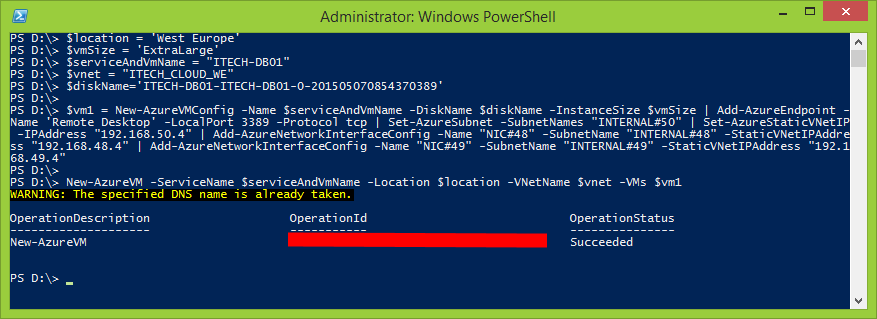
$location = 'West Europe'
$vmSize = 'ExtraLarge'
$serviceAndVmName = "ITECH-DB01"
$vnet = "ITECH_CLOUD_WE"
$diskName='ITECH-DB01-ITECH-DB01-0-201505070854370389'

$vm1 = New-AzureVMConfig -Name $serviceAndVmName -DiskName $diskName -InstanceSize $vmSize | Add-AzureEndpoint -Name 'Remote Desktop' -LocalPort 3389 -Protocol tcp | Set-AzureSubnet -SubnetNames "INTERNAL#50" | Set-AzureStaticVNetIP -IPAddress "192.168.50.4" | Add-AzureNetworkInterfaceConfig -Name "NIC#48" -SubnetName "INTERNAL#48" -StaticVNetIPAddress "192.168.48.4" | Add-AzureNetworkInterfaceConfig -Name "NIC#49" -SubnetName "INTERNAL#49" -StaticVNetIPAddress "192.168.49.4"

New-AzureVM -ServiceName $serviceAndVmName -Location $location -VNetName $vnet -VMs $vm1
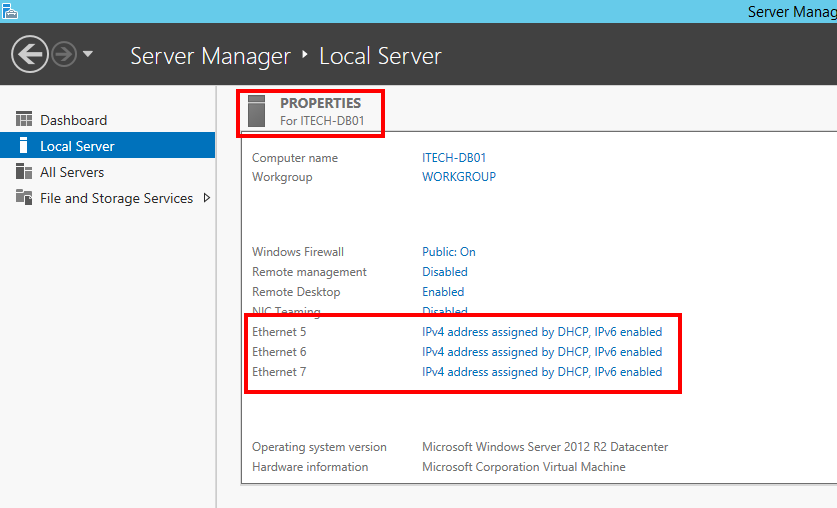
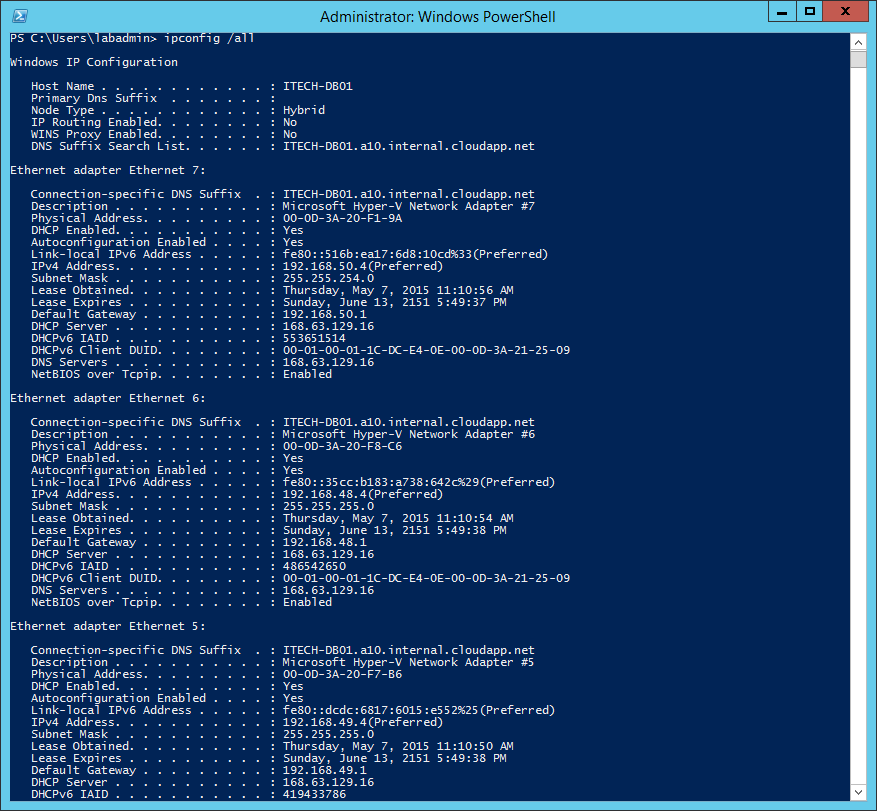
5. The virtual machine gets into the Running status and if we RDP to it we will see the VM is linked to the 3 (three) subnets.

Thanks IOREL IFTODE so much! My issue had been resolved.